
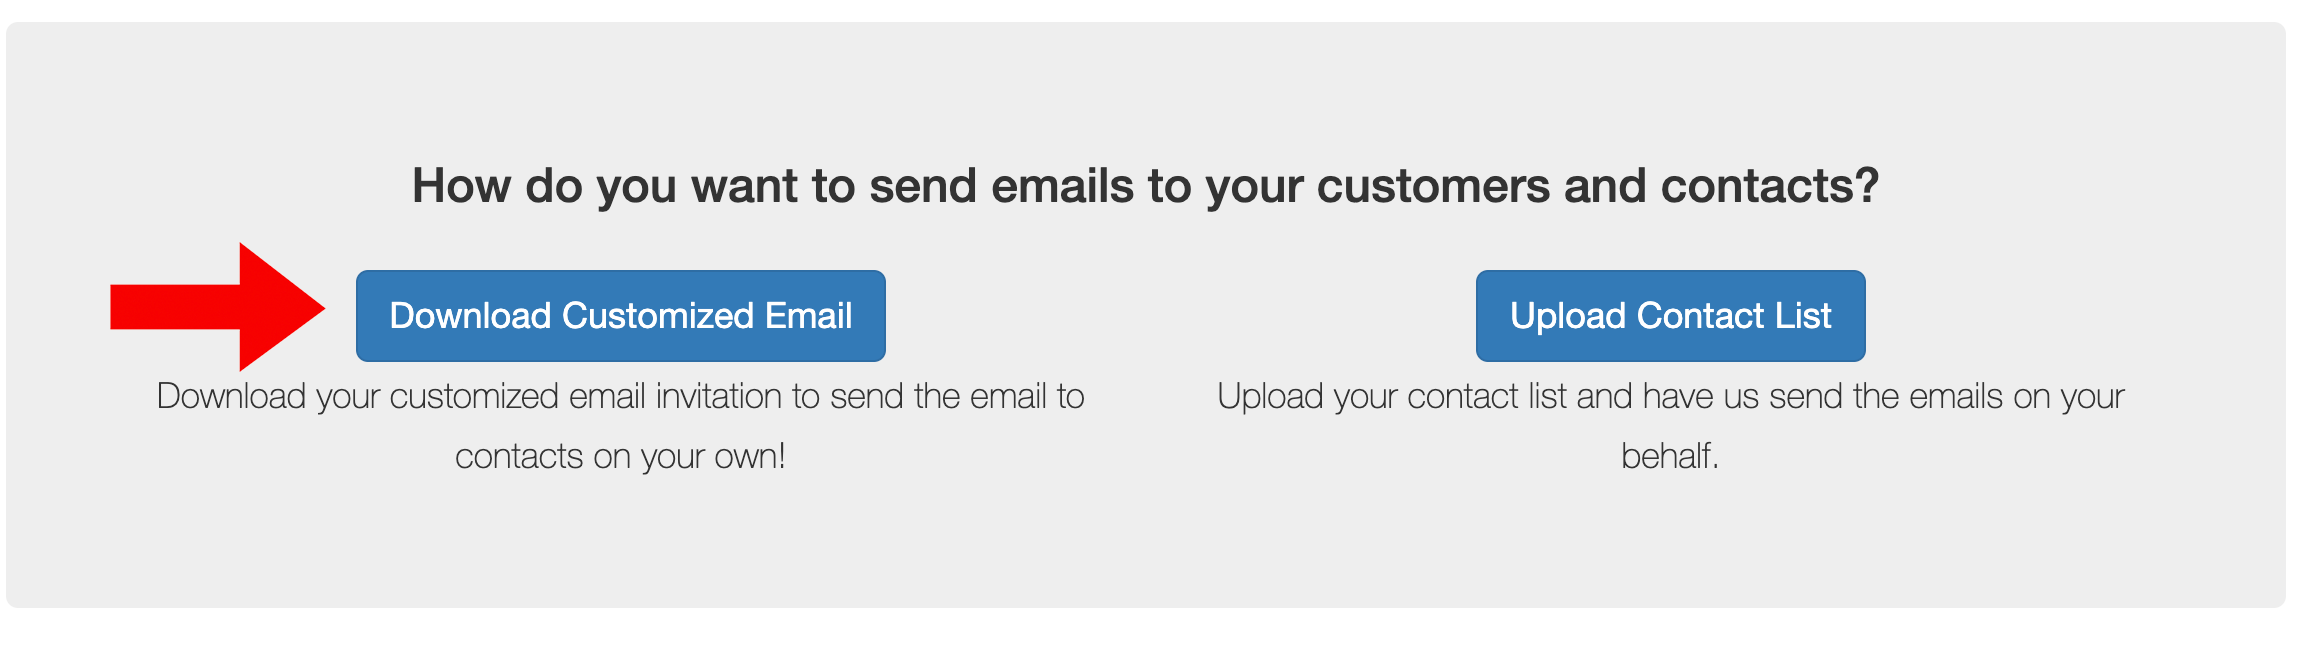
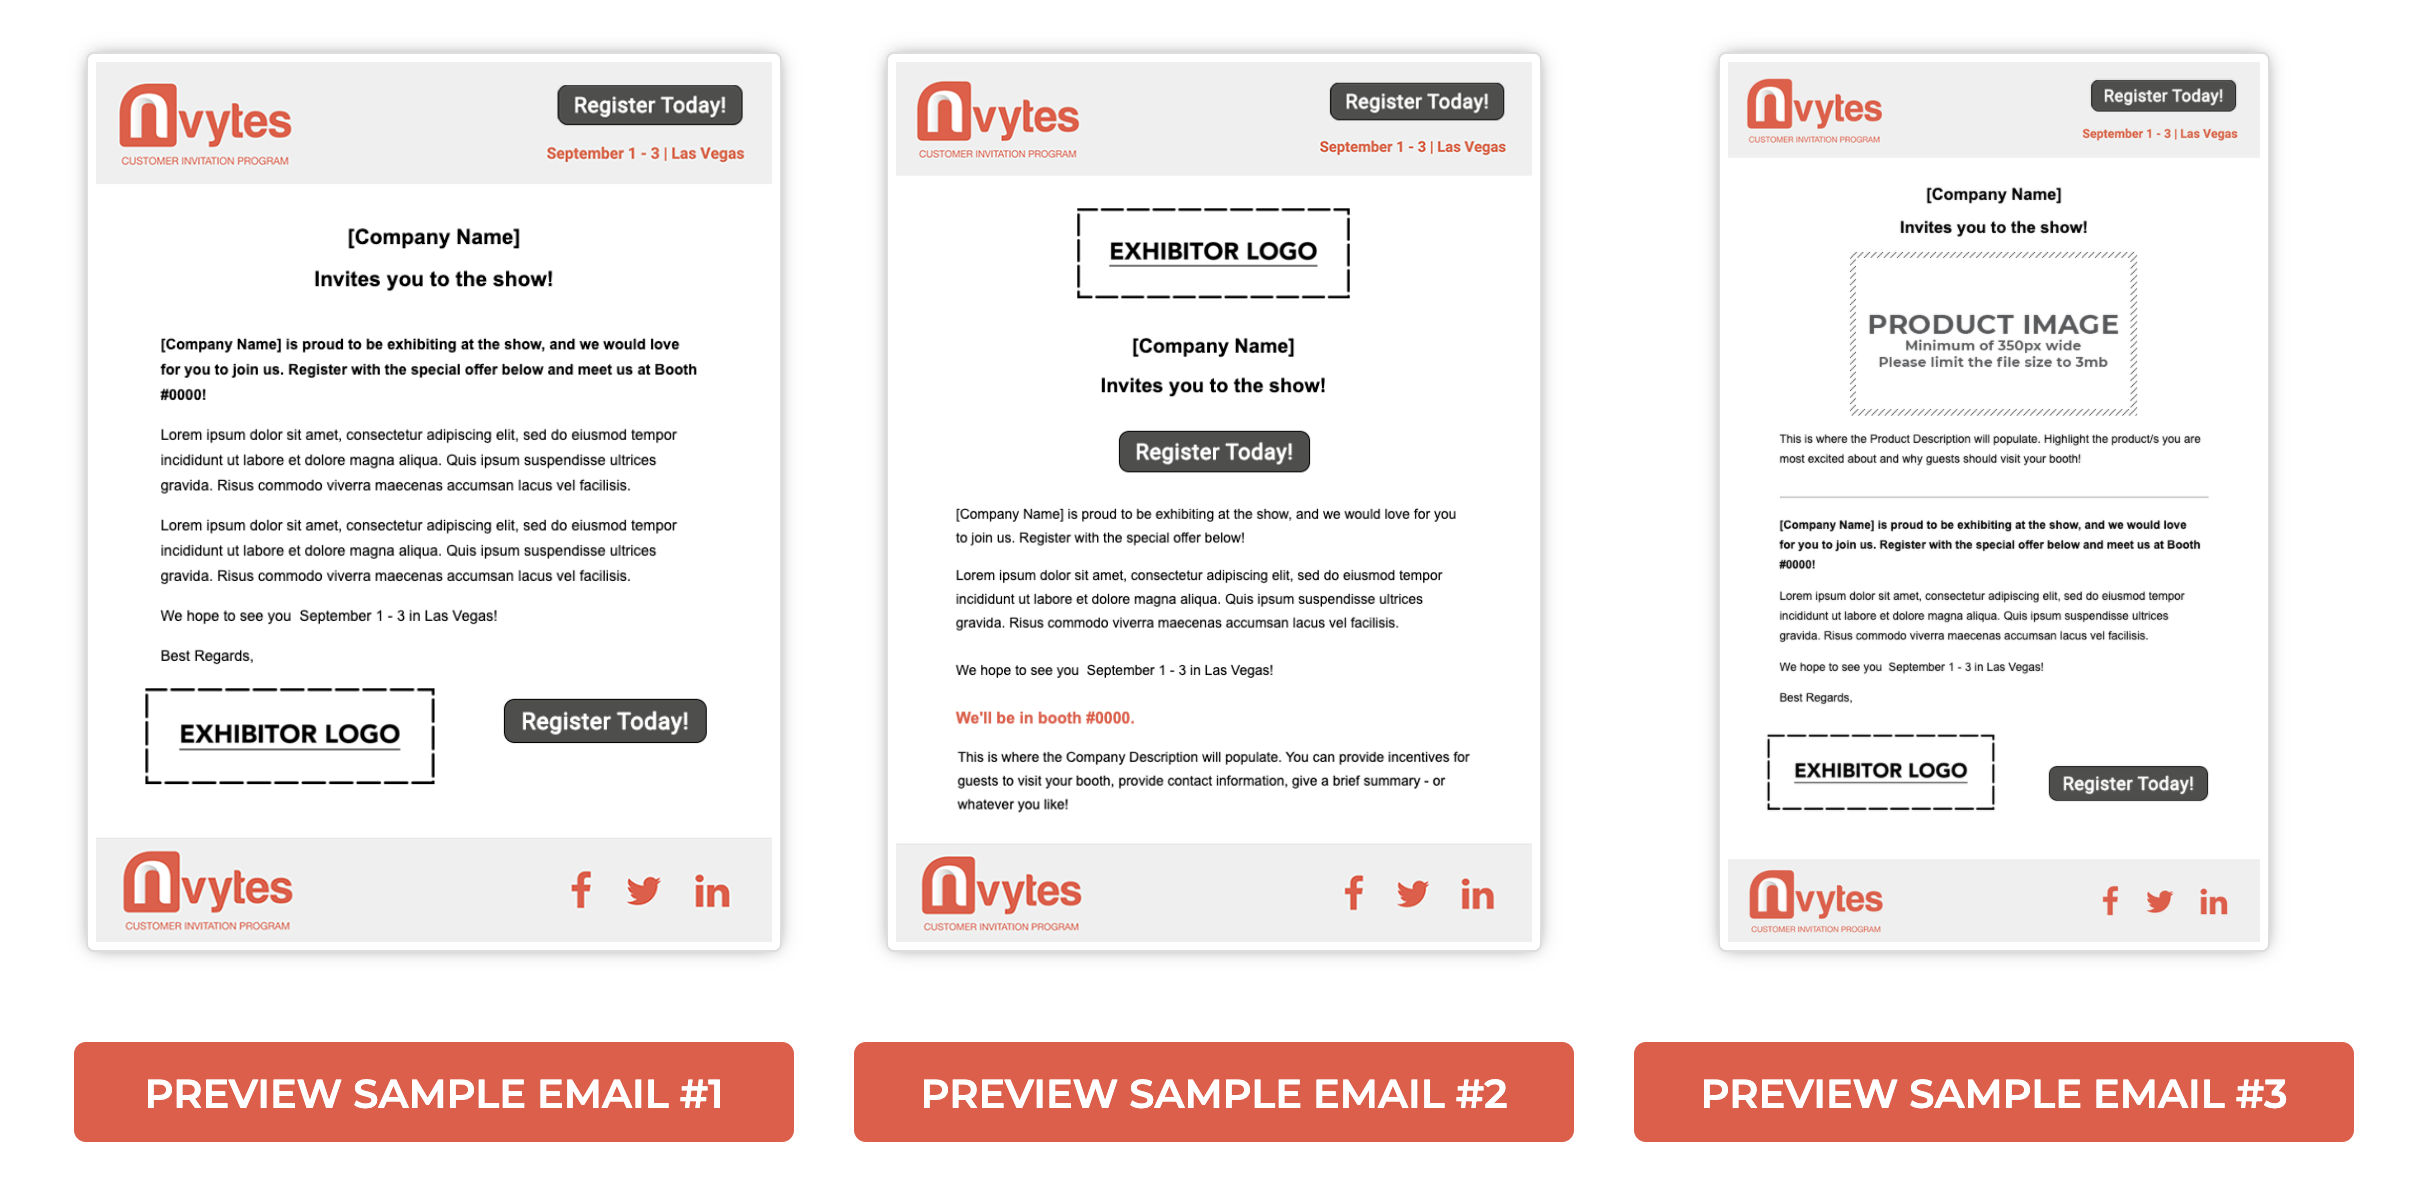
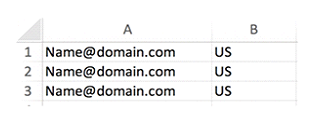
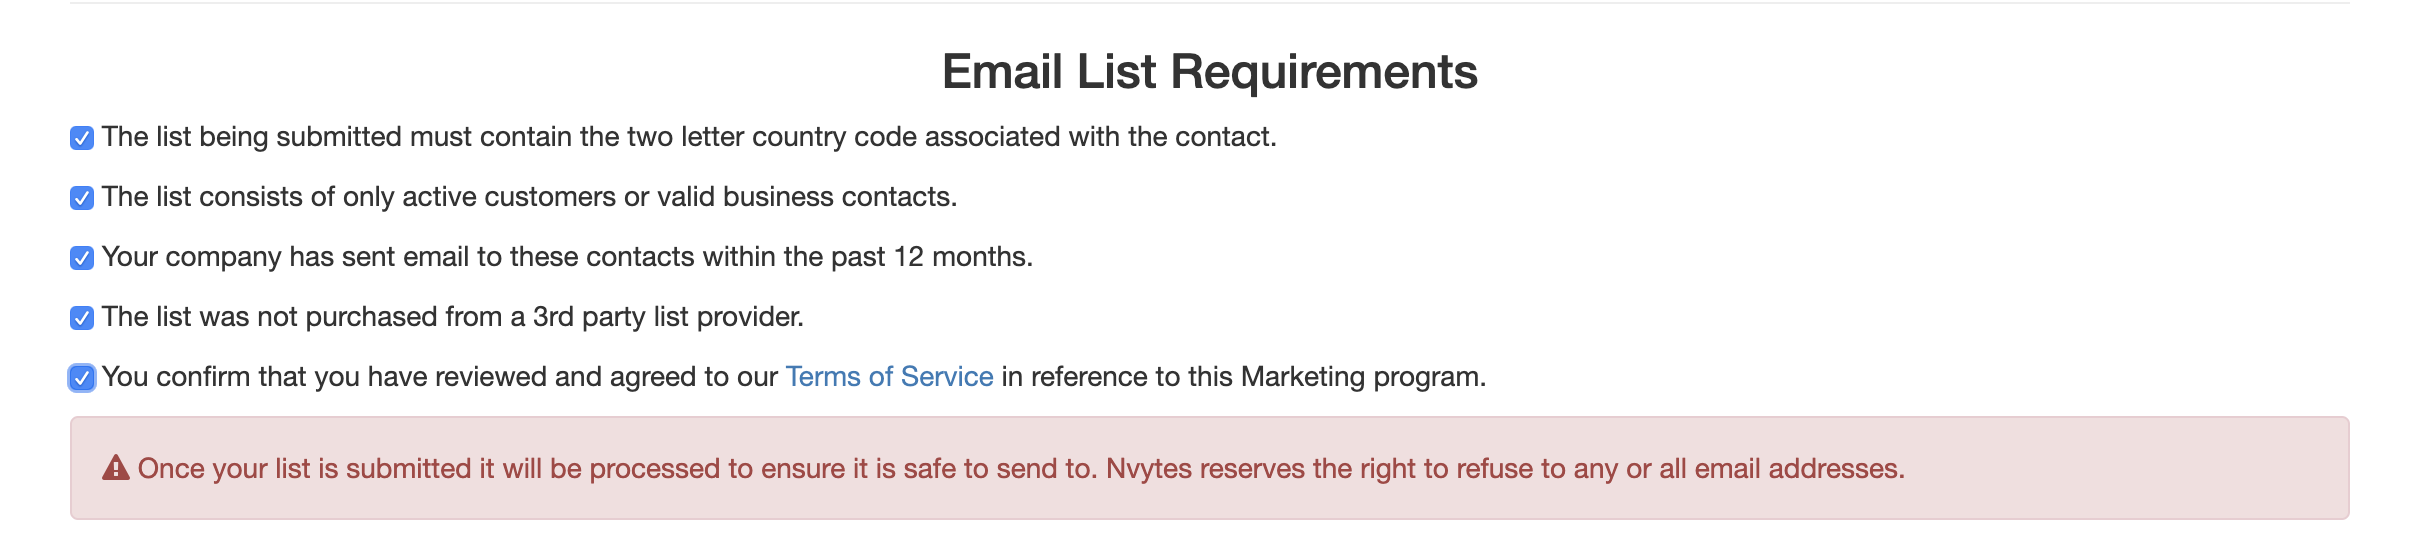
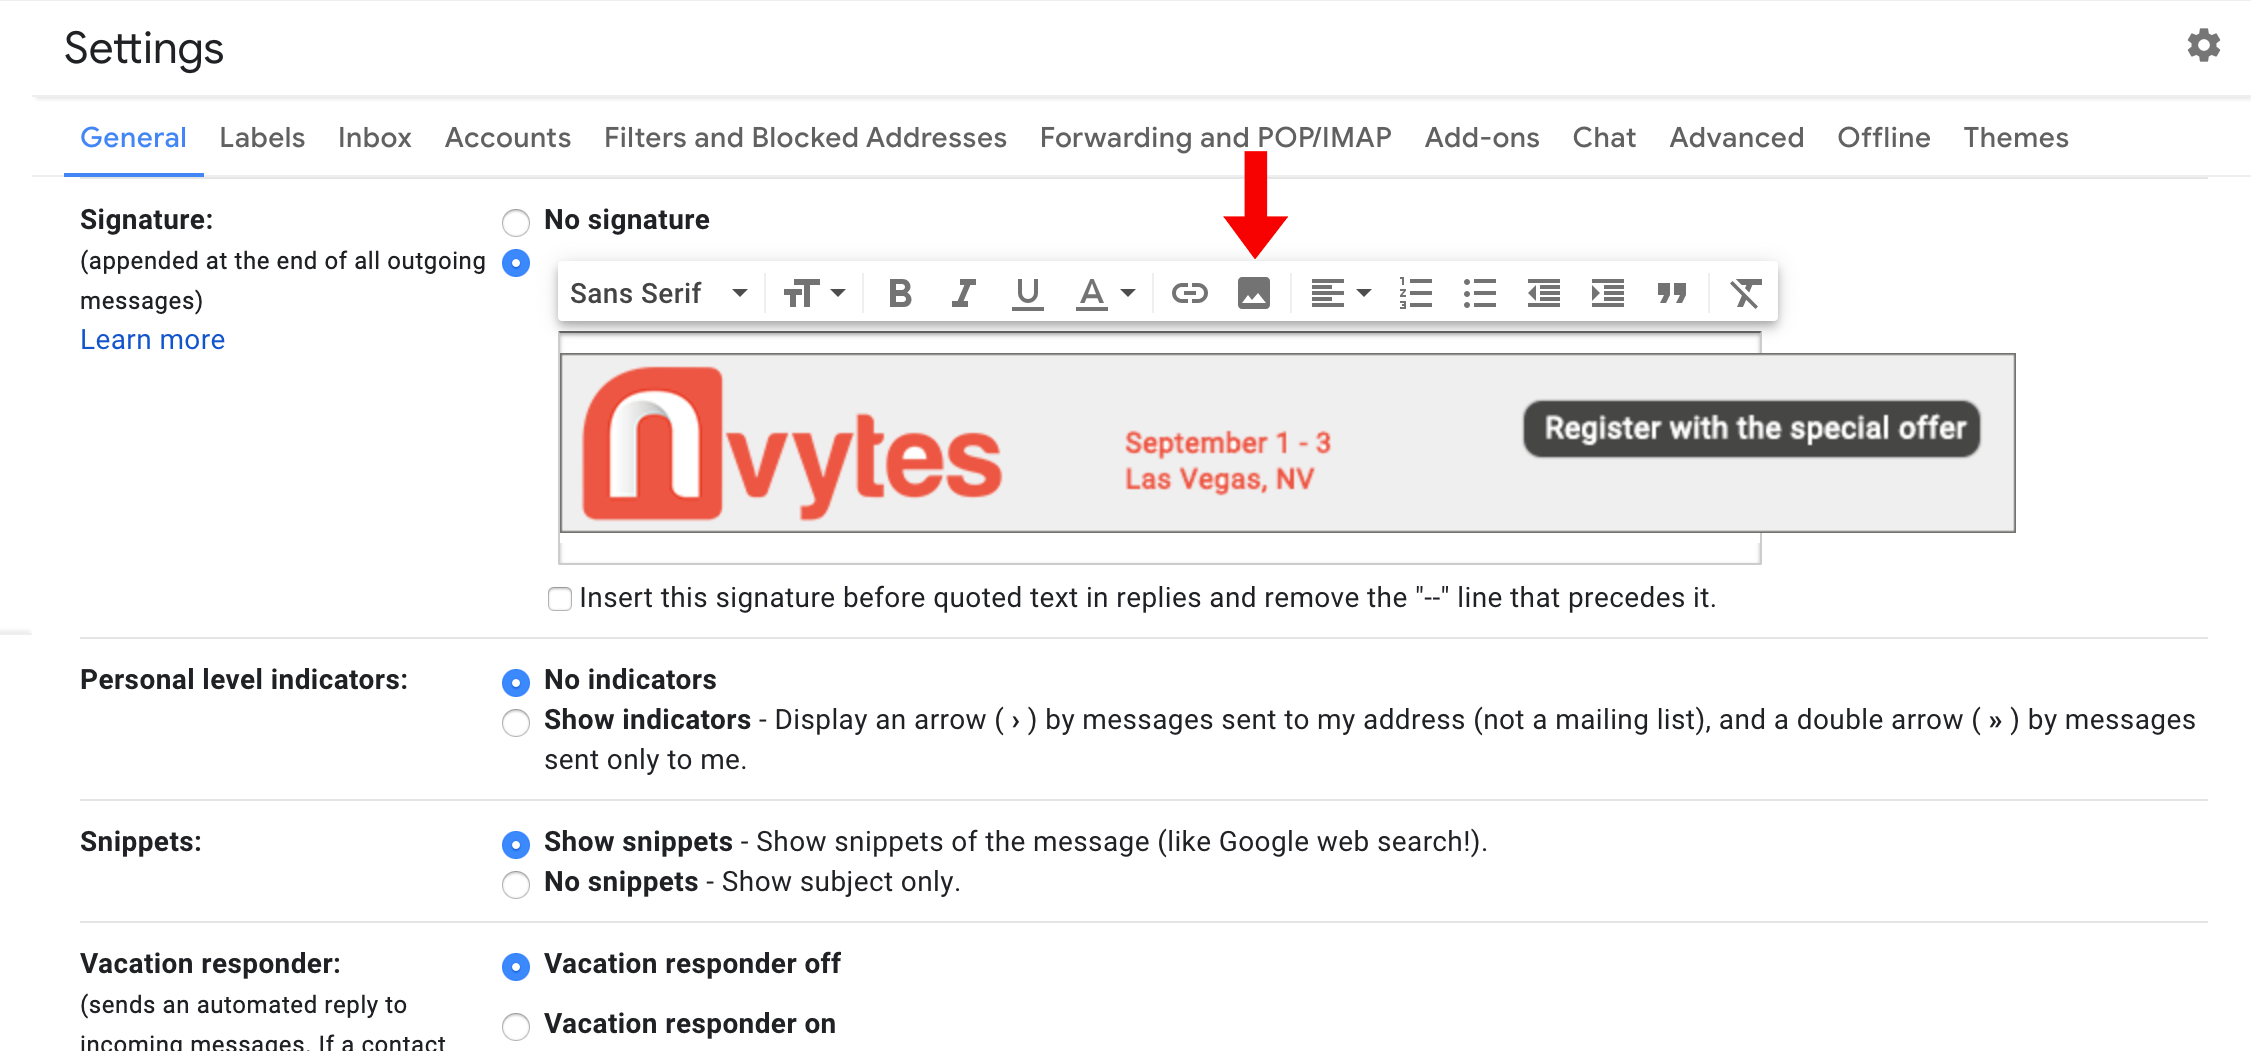
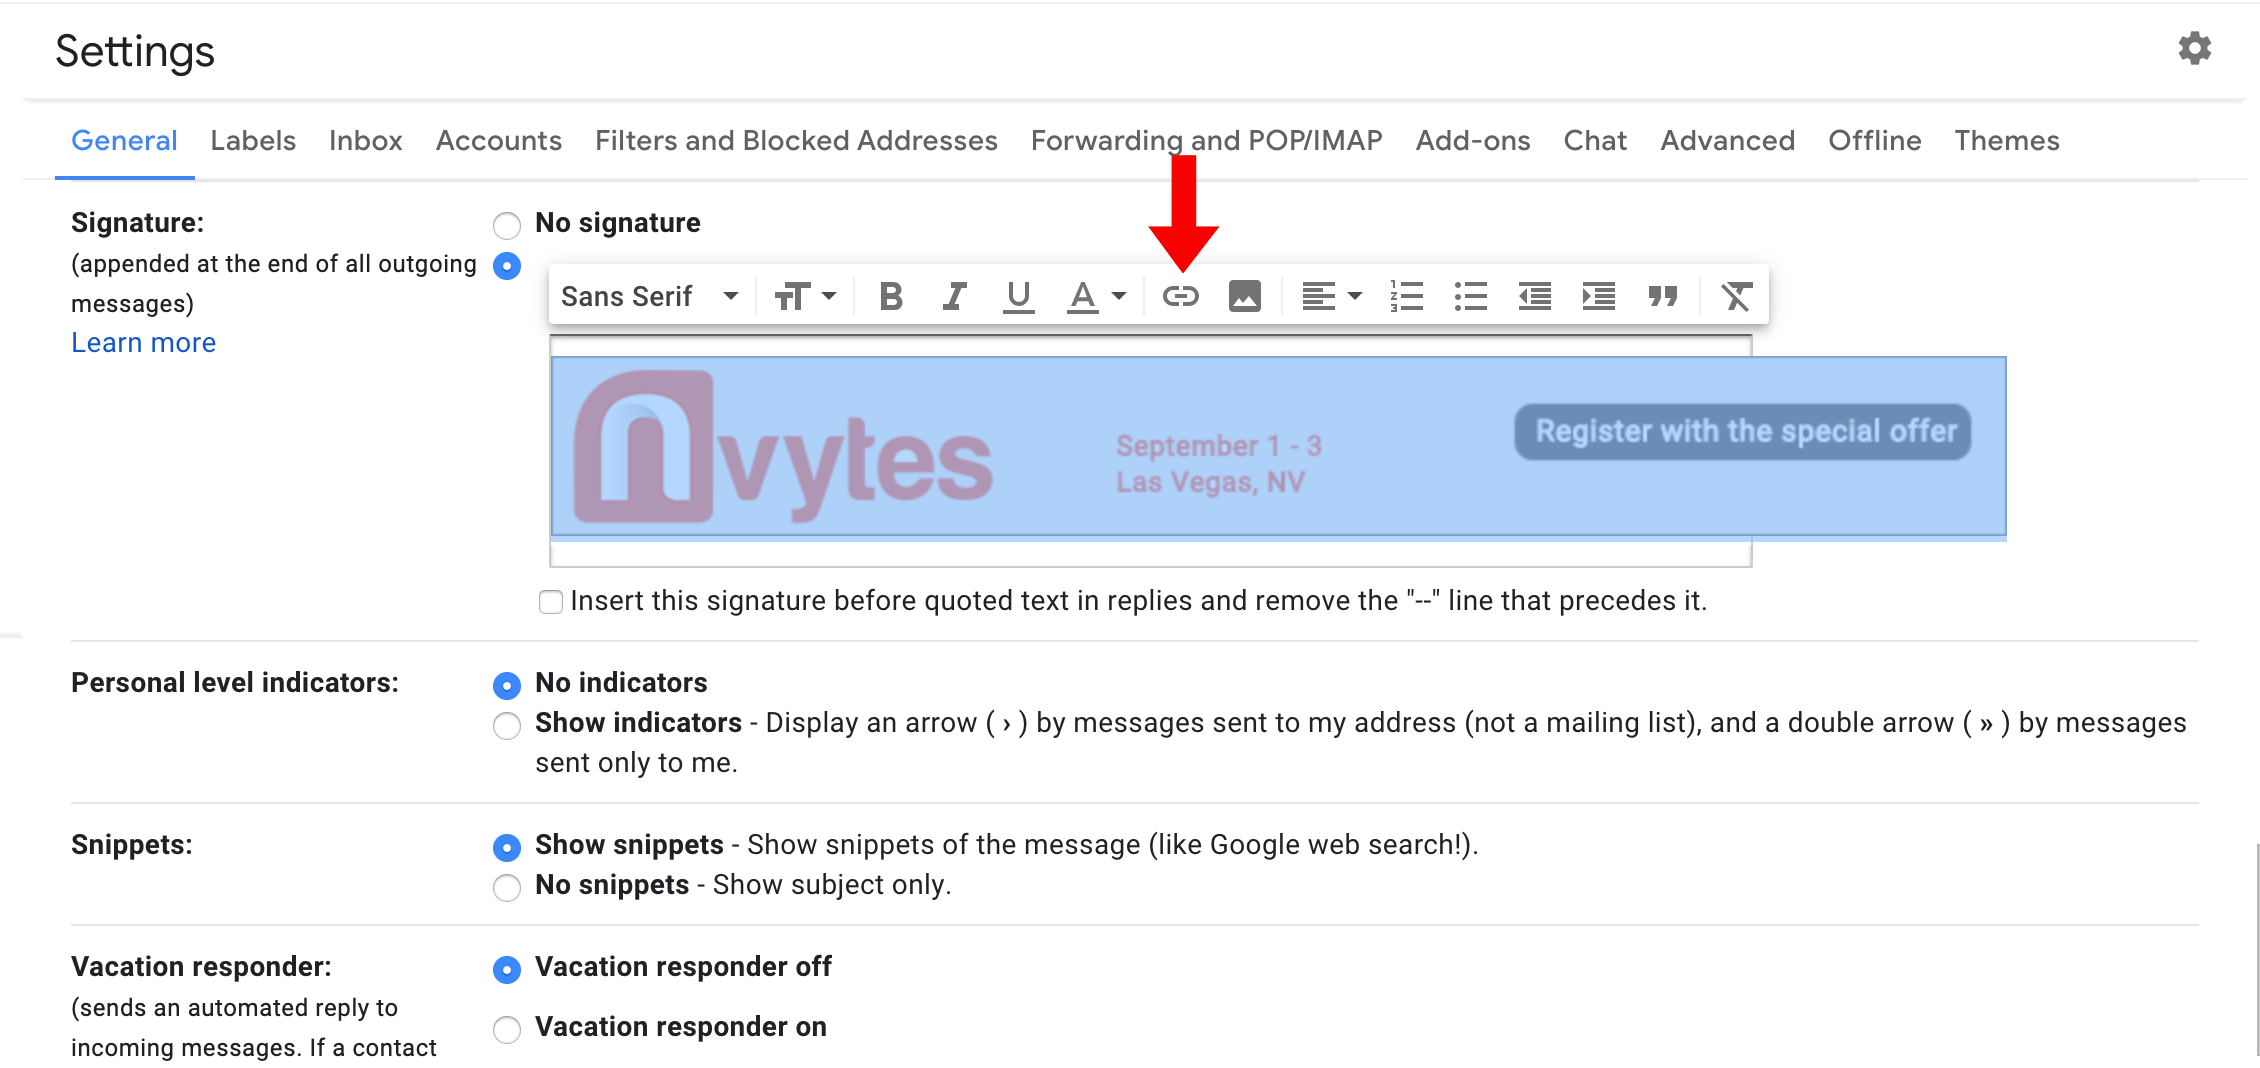
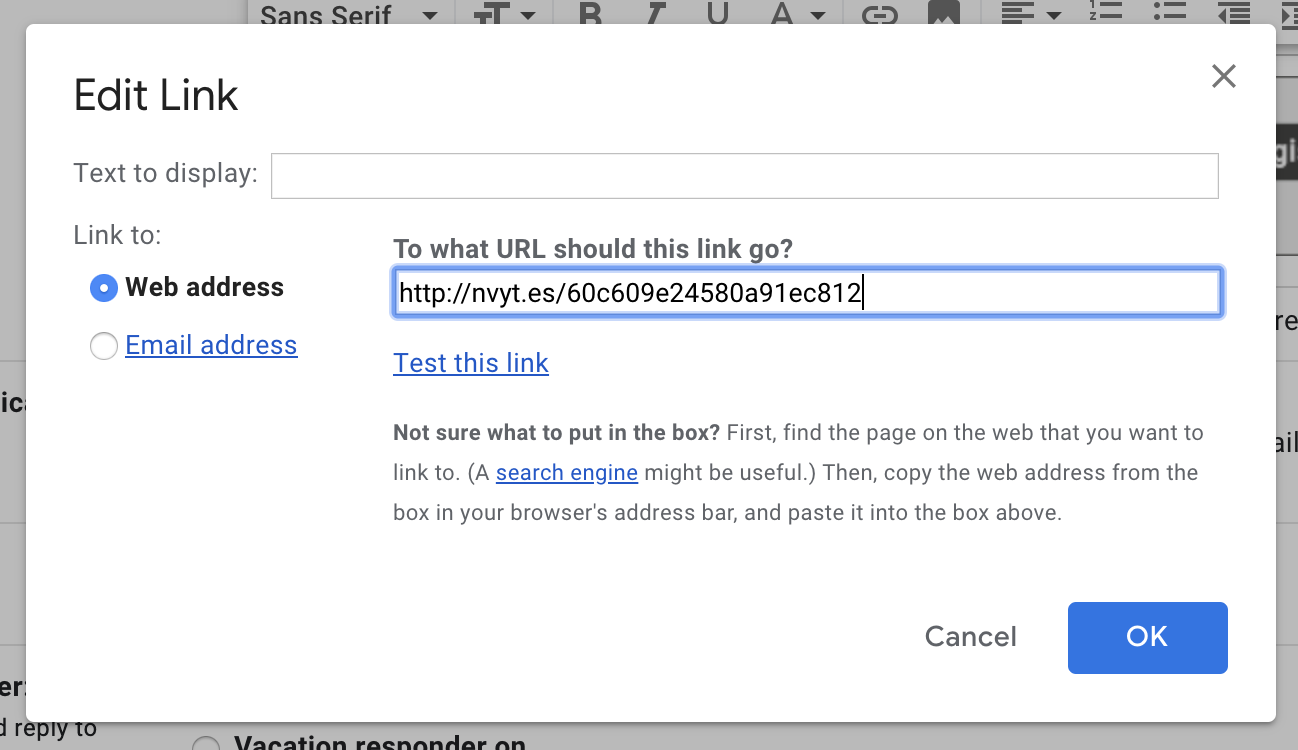
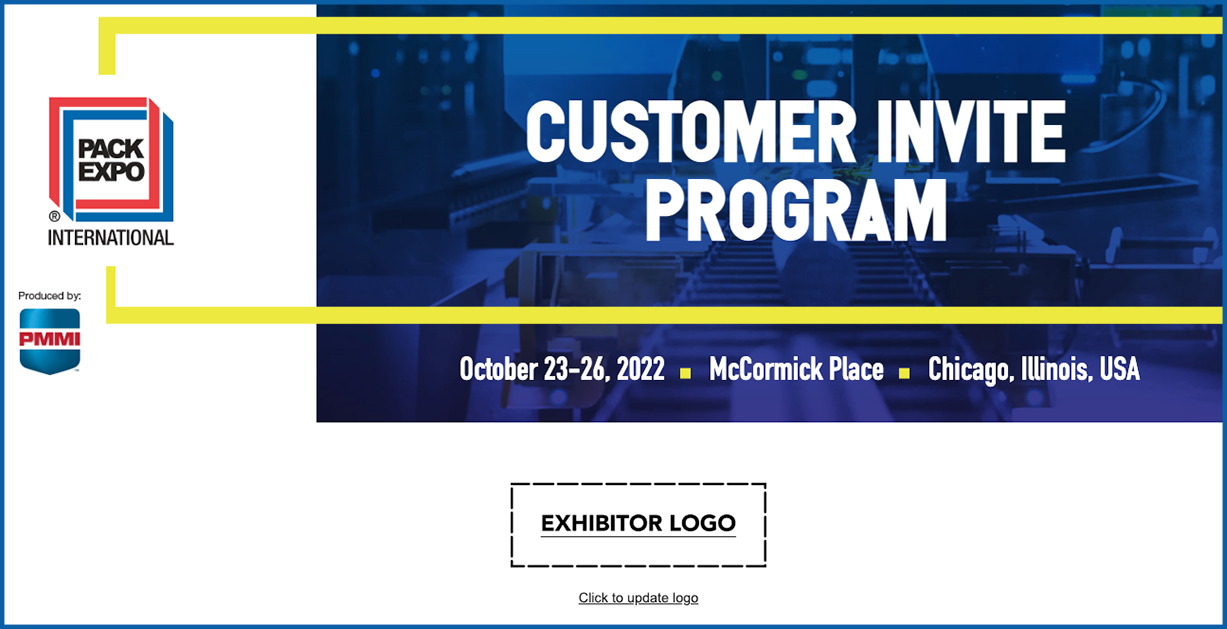
The Customer Invite Program is a FREE and convenient exhibitor resource proven to drive traffic to your booth and attract valued attendees to your business. This complimentary service provides you with an exclusive comp code and a full set of customized pre-show marketing materials, all in one organized dashboard for a user-friendly experience.
As an additional incentive to participate in this program and invite your customers, the top 3 companies from five separate booth size tiers who generate the most registrations using their comp code will win a gift card. The top company from each of the five booth size tiers will also receive one-time use of the PACK EXPO International 2022 attendee mailing list. The full details of the contest can be found at the bottom of this page.


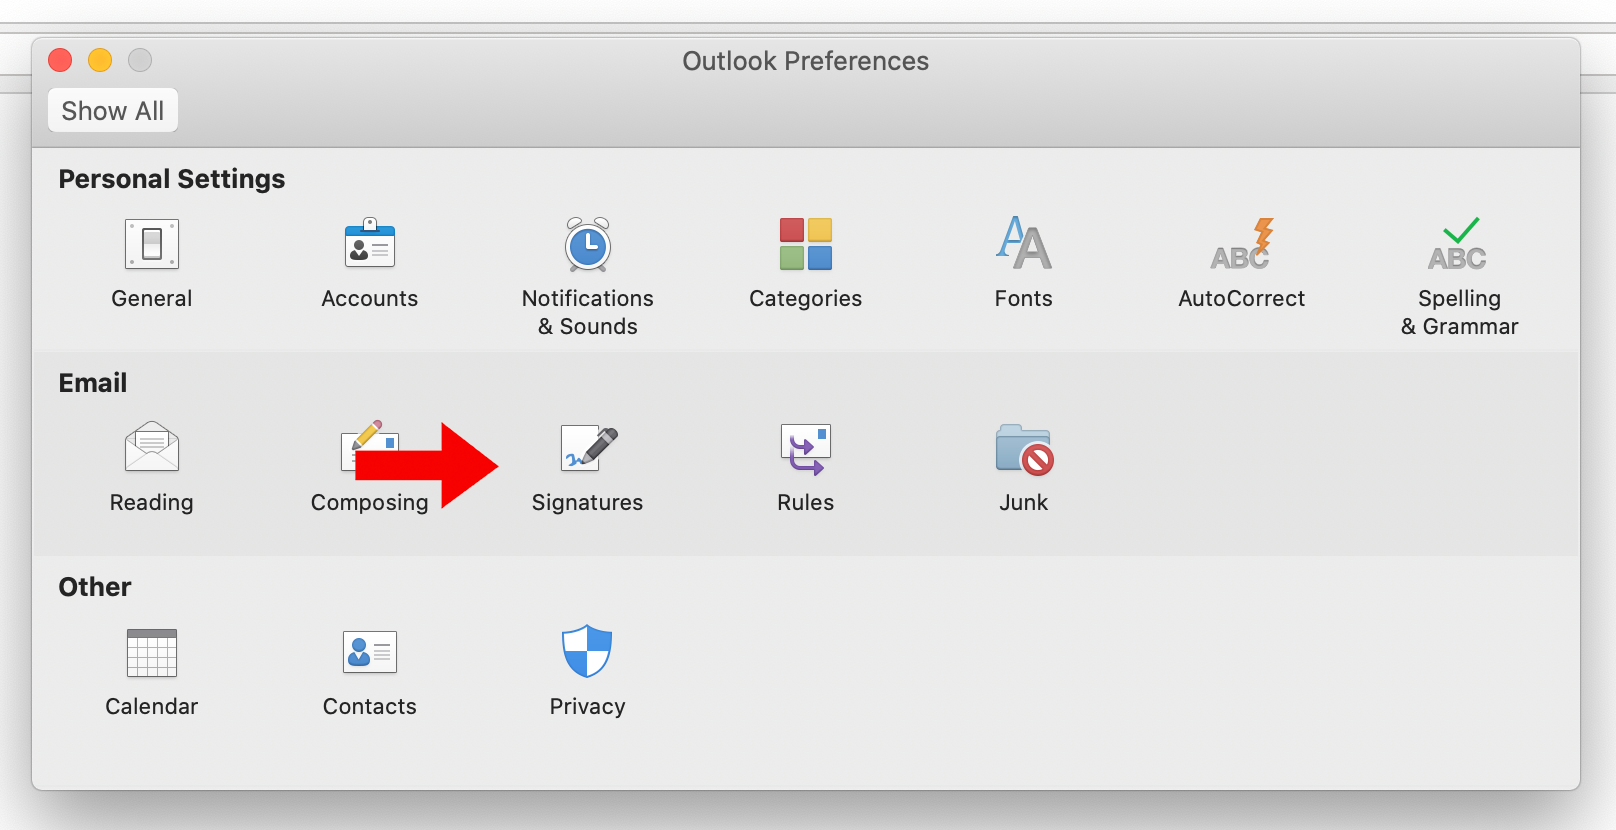
For assistance with the Customer Invite Program reach out to your CIP Account Manager:
Email: PackExpo@Nvytes.com or call (949) 545-8839
Hours: 8:00am – 5:00pm PDT
Monday – Friday
By using these valuable, customizable marketing tools, you are not only reaching your contacts with a personalized invitation (making them more likely to visit your booth), but you could also win a gift card and the attendee mailing list!
The top three companies in the five booth space size tiers listed below who generate the most registrations using their comp code will receive a gift card in the amount indicated. And the top user in each tier will also receive one-time use of the PACK EXPO International attendee mailing list.
What social media channels can I post on?
Also provided is an Instagram invitation post with a show-branded image. We include the registration link and caption in the directions for easy copying and pasting into your Instagram bio.
How do the one-click social posts work?
One-click social media posts are available for Twitter, LinkedIn and Facebook.
To post on LinkedIn, click the LinkedIn tile on your Invitation Dashboard. A share window will pop up with a preview of the post. Click “Share in a post” to customize your post.
Add additional information to the post and change your audience if you prefer. Once you click “Post” it will be posted on your feed and seen by your connections.
Twitter and Facebook one-click posts work the same way! Simply click the tile, a new share window will open up to customize the social post, then post!
How do I share a LinkedIn post on my company page?
After you’ve posted the special offer with your connections, click the “Share” button to re-post it to your company page.
Go to the drop-down menu to change the profile that you’re posting from.
If you were successfully added as an admin, your organization will show as an option.
If you prefer, add any additional information to the post and change the audience. When you’re finished, click “Post”!
The post will generate on your company page. Your followers can easily register for the event with the special offer!
How do I post on Instagram?
Using your mobile device, open the Instagram share option from the Invitation Dashboard.
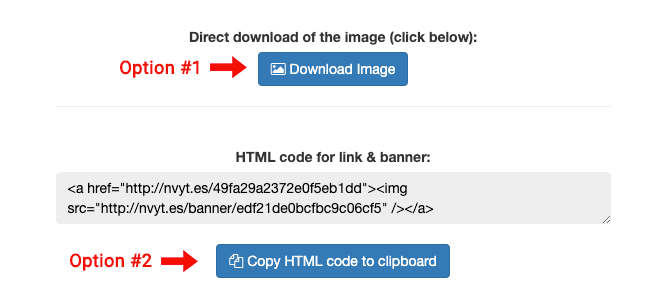
Tap the Social Share Image on top to download it to your library.
To post on Instagram, open up the app and click the “+” to add a post.
Select the image from your library and paste the caption provided, or create your own! If you create your own caption, be sure to provide your booth number so your guests can meet you at the show.
How do I post on Instagram from my desktop?
Go to https://www.instagram.com/ and sign into to your profile.
Right-click anywhere in the white space on page and select “Inspect”
Click the screen icon that’s second to the left. It looks like a tablet and mobile device.
When you click the screen icon, it will highlight blue and the screen should change. If you aren’t seeing the bar along the bottom of the page, refresh your browser.
When the toolbar pops up at the bottom, you can then post on Instagram. Click the “+” sign at the bottom to browse your files for the show-branded image.
Locate the image you would like to upload and click “Open”
You may need to change the sizing. If the image is zoomed in, click the button with arrows on the bottom left to zoom out, then click “Next”
Add your caption and click “Share” to publish the post.
Check back on your post to make sure it was successfully posted!